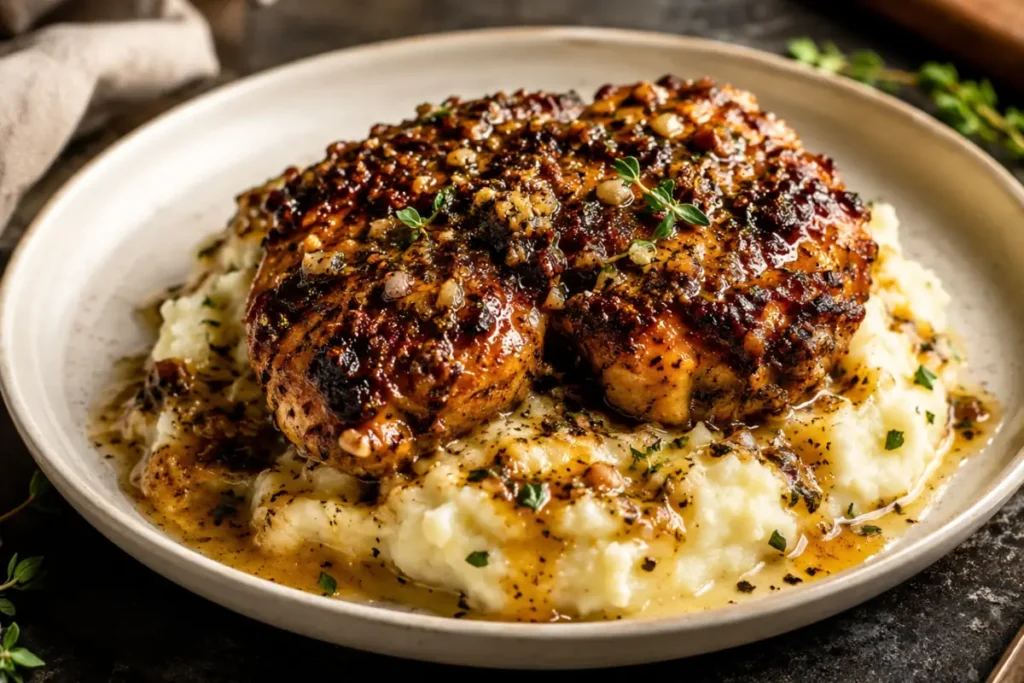
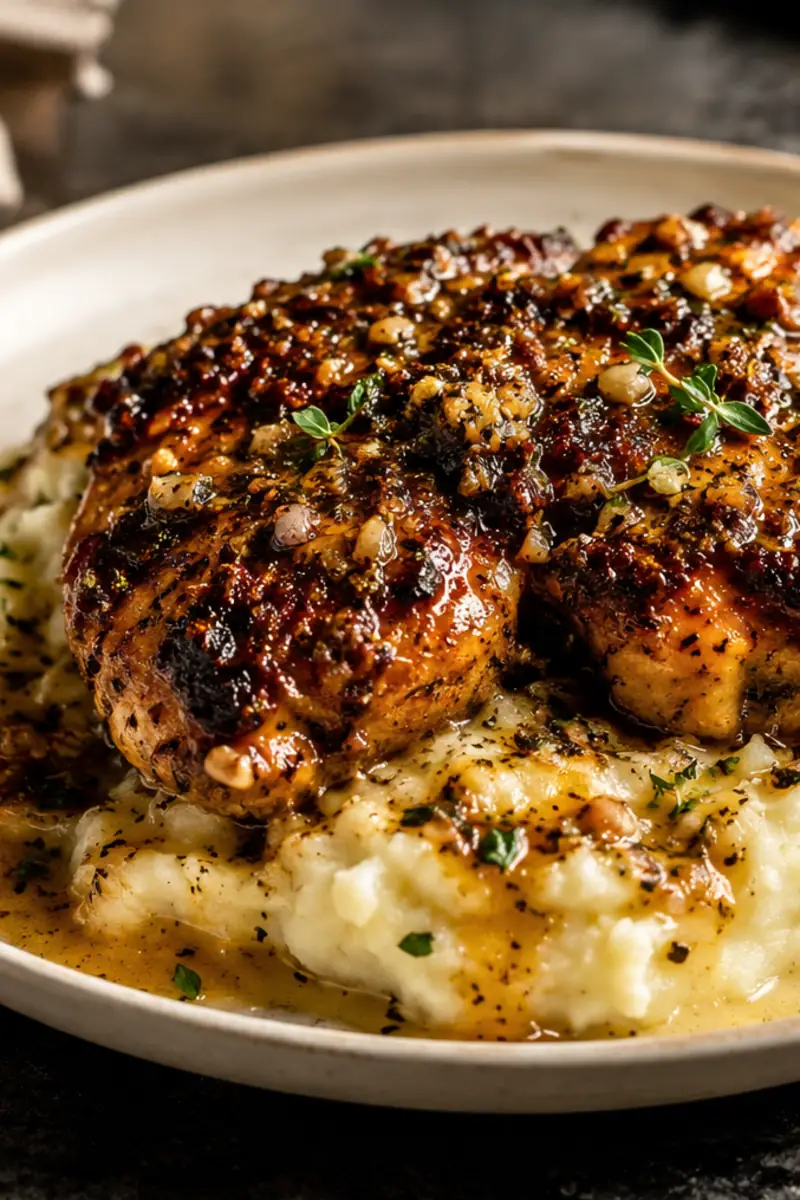
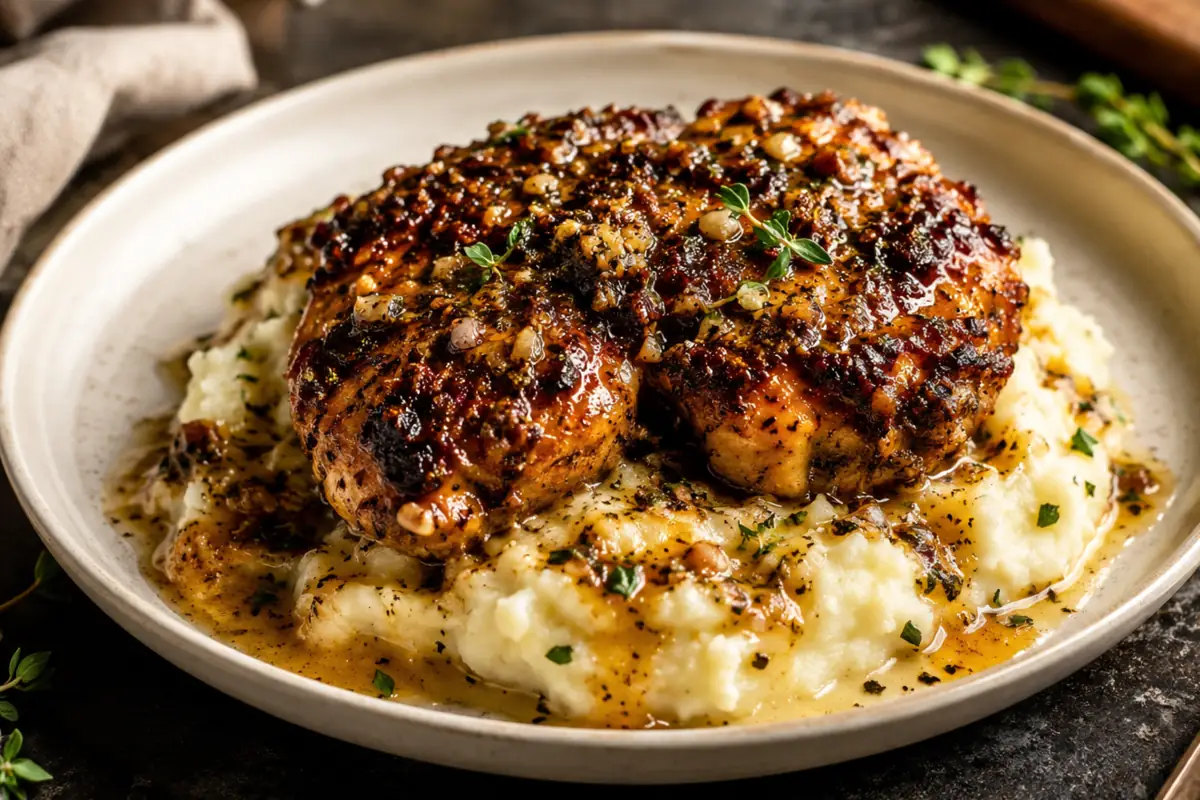
Garlic Herb Chicken comes out of the oven sizzling, with crackly golden skin and juicy meat underneath. Garlic and rosemary perfume the pan while lemon brightens every spoonful of savory juices.
It’s a short-ingredient-list dinner that still tastes fully considered. Ten minutes of prep and one ovenproof skillet keep the whole thing manageable on a busy night.
Why You’ll Love Garlic Herb Chicken
The payoff is crisp skin, tender dark meat, and plenty of garlicky pan flavor without a complicated sauce.
Skin-on thighs brown in the skillet, then finish evenly in the oven.
The full cooking time is 35 minutes, including a short rest before serving.
Dried rosemary and thyme make this pantry-friendly, while fresh parsley wakes up the finished chicken.
No cheese or cream is needed. Rendered chicken fat, garlic, and lemon make their own light pan sauce.
Leftovers stay juicy for several days and work well for next-day lunches.
One skillet handles the searing, roasting, and pan juices, so cleanup stays reasonable.
How to Make Garlic Herb Chicken
Prep takes 10 minutes, followed by about 25 minutes for searing, roasting, and resting. The move that matters most is leaving the chicken alone while it sears because dry skin browns and releases cleanly.
1. Heat the oven. Pat the thighs thoroughly dry, especially around loose folds of skin, then season both sides.
2. Warm the oil in an ovenproof skillet. Arrange the thighs skin-side down and press them briefly against the hot surface.
3. Sear for 7 minutes without sliding or lifting the pieces. When the skin is deeply golden, the chicken should release with little resistance.
4. Flip the thighs, cook for 1 minute, then lower the heat. Stir the garlic, herbs, and lemon zest into the rendered fat for 30 seconds.
5. Roast skin-side up for 12 minutes. Check the largest thigh near the bone, then rest everything uncovered for 4 minutes before adding lemon juice and parsley.
If the chicken hasn’t reached 175°F, return it to the oven for 2 to 3 minutes. Thighs are safe at 165°F, but the texture becomes more tender closer to 175°F.
Storing and Reheating Tips
Leftovers keep in the refrigerator for up to 4 days. Freezing works for 2 months, although thawed skin won’t have the same crackle.
Cool the thighs before placing them in a shallow airtight container.
Store any pan juices with the chicken so the meat stays moist.
Reheat at 375°F for 10 to 12 minutes with the chicken skin-side up.
Add a spoonful of water or broth around the meat if the pan juices have become thick.
The microwave is faster, but it softens the skin. Use 50 percent power to warm the center without toughening the edges.
For meal prep, remove the meat from the bone after chilling. It slices more cleanly and can be reheated gently with the reserved juices.
Variations and Substitutions
The herb mixture is flexible, but keep garlic and a bright finish to preserve the dish’s character. Skin-on thighs deliver the strongest browning and remain the most forgiving cut.
Replace dried rosemary and thyme with 1 tablespoon each of chopped fresh herbs. Add half before roasting and half after cooking.
Boneless skin-on thighs cook faster. Begin checking the temperature after 8 minutes in the oven.
Skinless thighs work, though the surface will brown rather than become crispy.
Use ¾ teaspoon garlic powder when fresh garlic isn’t available. Mix it with the salt instead of adding it to the hot fat.
Avocado oil can replace olive oil without changing the cooking method.
For sharper acidity, replace the lemon juice with 2 teaspoons of white wine vinegar. Keep the lemon zest if you have it.
Ingredient Notes
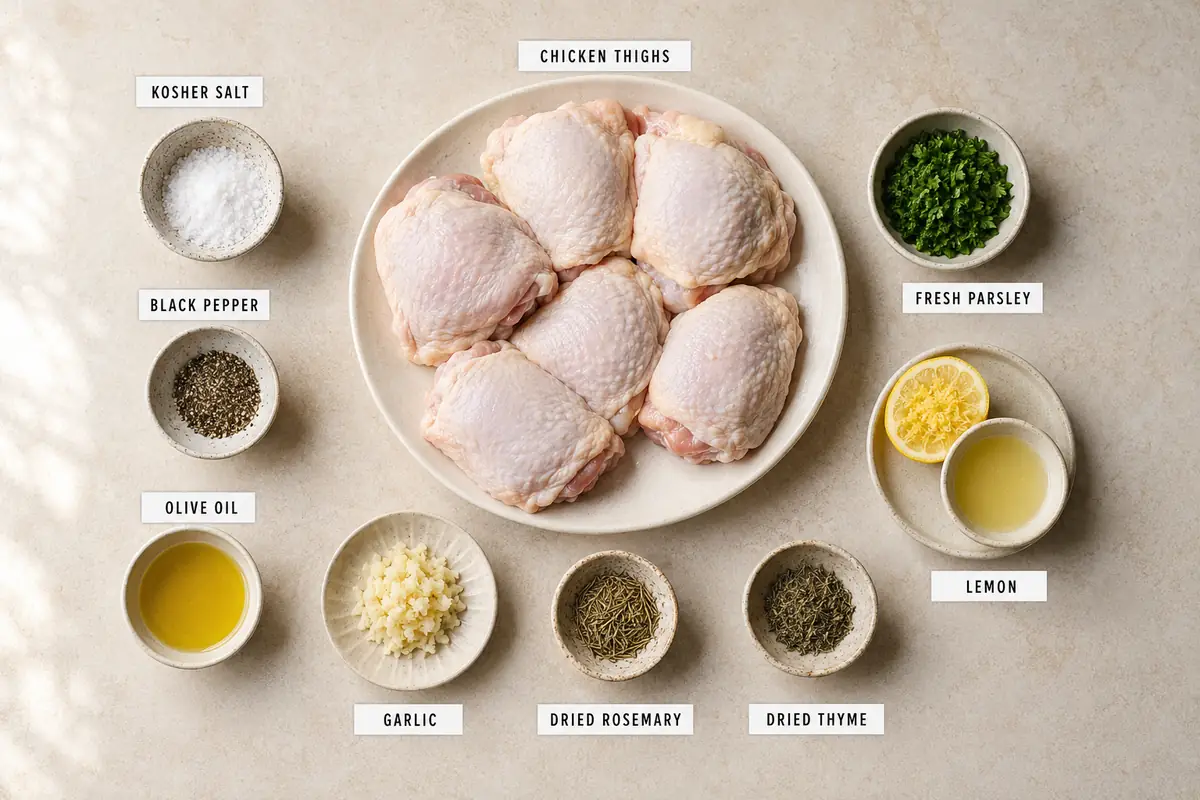
Chicken fat renders beneath the skin, carrying the garlic and dried herbs through the pan. Lemon goes in at two points so the zest can warm while the juice stays fresh.
Bone-in thighs remain juicy at the higher temperature needed for tender dark meat. Choose similarly sized pieces so they finish together.
Kosher salt seasons the meat and helps draw surface moisture from the skin.
Garlic needs only 30 seconds on the stovetop. The oven finishes cooking it without letting it turn bitter.
Dried rosemary should be crushed between your fingers. Smaller pieces release more aroma and won’t feel woody.
Lemon zest handles oven heat well, but lemon juice should wait until the chicken is done. Early juice would interfere with browning.
Parsley adds fresh color and keeps the rendered pan juices from tasting overly rich.
Expert Cooking Tips
Pale or rubbery skin usually comes from surface moisture, a crowded skillet, or moving the chicken too soon. Give each thigh full contact with the pan.
Start with a properly heated skillet. The oil should shimmer, but it shouldn’t smoke.
Don’t repeatedly lift the chicken to check the color. Wait until the 7-minute mark, then test one edge with the tongs.
If more than 2 tablespoons of fat collects in the skillet, spoon off the excess before adding garlic. The herbs should sizzle gently, not float.
Keep minced garlic in the fat around the chicken rather than on top of the skin. Exposed garlic can scorch in the oven.
Check for 175°F in the thickest part, holding the thermometer away from the bone. Contact with bone can give a misleading reading.
Rest the thighs uncovered. Foil traps steam and quickly softens the browned surface.
If the garlic darkens too quickly, move the skillet off the burner before stirring in the herbs. The residual heat is enough to release their aroma.
What to Serve with Garlic Herb Chicken
This chicken fits a straightforward weeknight plate, and its lemony pan juices pair best with a side that can catch them. Add something crisp or green to offset the rich thigh meat.
Mashed potatoes soak up the garlic and herb juices without competing with them.
Roasted baby potatoes keep the meal hearty while adding another browned texture.
Green beans with lemon make a quick, clean-tasting side.
A chopped romaine salad brings crunch and enough acidity to balance the rendered fat.
Steamed rice or buttered egg noodles turn the pan juices into a light sauce.
Roasted carrots add sweetness, especially when rosemary is the dominant herb.
If you’re deciding what to pair with mashed potatoes, this chicken is a natural answer because the pan juices work like a light gravy.
FAQ
The main questions come down to timing, temperature, and keeping the skin crisp.
Can I use boneless chicken thighs?
Yes. Use boneless skin-on thighs and begin checking them after 8 minutes in the oven since they cook more quickly.
How do I know the chicken is done?
Insert a thermometer into the thickest section without touching bone. Aim for 175°F for tender thighs, although 165°F is the minimum safe temperature.
Why isn’t the skin crispy?
The chicken may have been damp, the skillet may not have been hot enough, or the pieces were moved too early. Pat them dry and wait for the skin to release naturally.
Can I make this ahead?
You can season the thighs and refrigerate them uncovered for up to 12 hours. The uncovered rest dries the surface and improves browning.
Can I double the recipe?
Yes, but don’t crowd one skillet. Sear in two pans or in batches, then arrange the thighs on a preheated sheet pan to finish in the oven.
One Last Bite
Garlic Herb Chicken has the kind of reliable payoff that earns a regular dinner rotation: crisp skin, juicy meat, and pan juices worth spooning over everything. The short ingredient list and useful leftovers make it just as practical the second time around.
Crispy Garlic Herb Chicken for Busy Weeknights
Crispy Garlic Herb Chicken for Busy Weeknights pairs golden skin-on thighs with garlic, herbs, lemon, and savory pan juices.
Preheat the oven to 425°F. Pat the chicken thighs thoroughly dry, including beneath any folded edges of skin.
Season the chicken on both sides with the salt and black pepper.
Heat a 12-inch ovenproof skillet over medium-high heat. Add the olive oil and swirl to coat.
Place the chicken skin-side down in the skillet. Press each piece against the pan for 10 seconds, then cook undisturbed for 7 minutes, until deeply golden and easy to release.
Flip the chicken and cook for 1 minute. Reduce the heat to medium-low.
Add the garlic, rosemary, thyme, and lemon zest to the fat around the chicken. Stir for 30 seconds, keeping the skin uncovered.
Transfer the skillet to the oven. Roast skin-side up for 12 minutes, or until the thickest part reaches 175°F without touching bone.
Rest the chicken uncovered for 4 minutes. Add 1 tablespoon lemon juice to the pan juices, spoon them around the chicken, and finish with parsley.
Notes
Refrigerate leftovers for up to 4 days and reheat skin-side up in a 375°F oven. Boneless thighs work, but begin checking them after 8 minutes in the oven. Freezing is safe for up to 2 months, though the skin will be softer after thawing.
Mia Olivia is a food writer and recipe contributor who loves creating approachable recipes that fit busy lifestyles. From quick weeknight dinners to crowd-pleasing comfort foods, she focuses on helping readers cook with confidence and enjoy more time around the table.